Our default Email provider meets the requirements of most applications, providing significant advantages in terms of ease of integration, reliability, cost-effectiveness, security, scalability, simplified management, reduced maintenance, and consistent performance.
However, ezto verify offers you the option to configure your own email provider to help you manage, monitor, and troubleshoot your email communications. This allows for greater flexibility and control over your messaging.
To take advantage of this feature, ensure your subscription plan is updated to "Own" email providers. Note that only one email provider can be configured at a time, which will handle all your email communications.
Use case
The primary purpose of configuring a custom email provider is to deliver messages to recipients that are not supported by the default email provider. Additionally, you can:
- Change message payload
- Retry failed deliveries
Email Providers
ezto verify sends emails using its own default provider, which does not support customization of email templates. To manage and monitor your email communications more effectively, you can configure a custom email provider.
ezto verify supports the following email providers:
Configure Custom Email Provider
1 Navigate to Workspace, click on Notification, and choose Email.
2 Click on +ADD PROVIDER.
3 You will be directed to the New Email Provider page, where all available providers will be displayed.
4 Choose the provider you want to configure.
Every Email Provider has its own set of configuration procedures.
5 Provide all necessary configurations.
6 Make sure to test your configuration by sending a test email using the TEST CONNECTION button.
7 If the configurations are accurate, a successful test email will be sent to the provided email address.
8 Click on the SAVE button.
Remove Custom Email Provider
If you wish to switch another provider, you must first create a new provider before removing the existing one. Alternatively, you can change your subscription to revert to the ezto verify's "Default" provider.
To remove your custom provider completely:
1 Navigate to Workspace, click on Notification, and choose Email.
2 You will be presented with a list of existing (created) providers. Click on the provider you wish to delete from the list.
If you want to modify the provider instead of deleting it, click on the edit icon next to the provider's name.
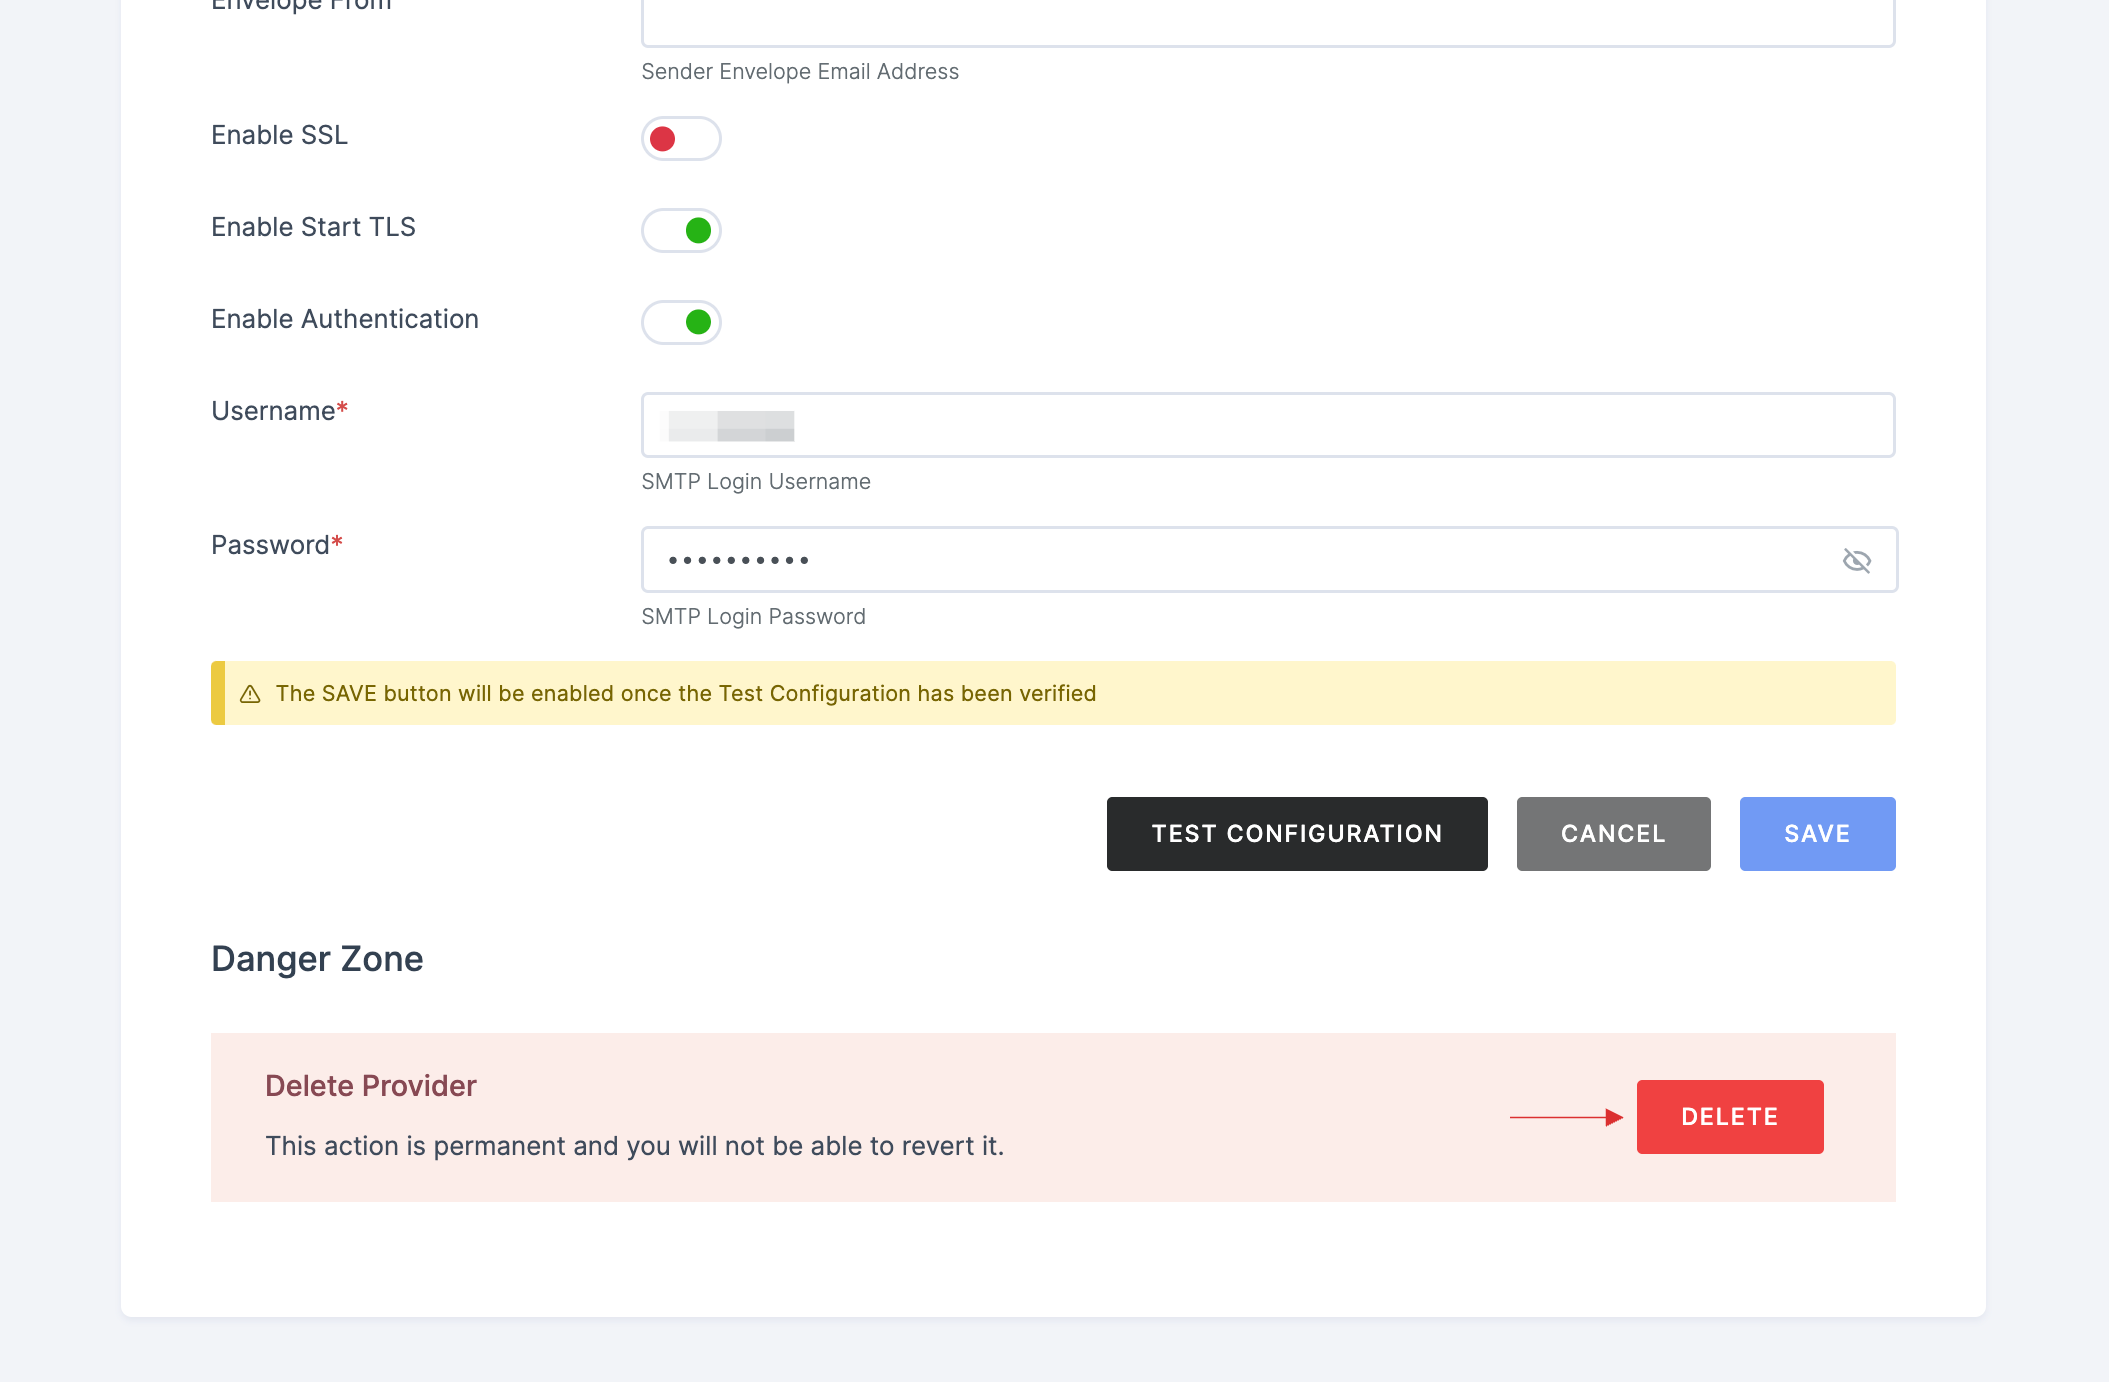
3 Click on the name of the provider you want to delete. Scroll down to the bottom of the page to the Danger Zone section and click on the DELETE button.

4 A pop-up will appear, cautioning you that this action will permanently delete the provider. Confirm your intention by clicking on DELETE.
By following these steps, you can manage your email provider settings effectively and ensure that your email communications are handled according to your needs.